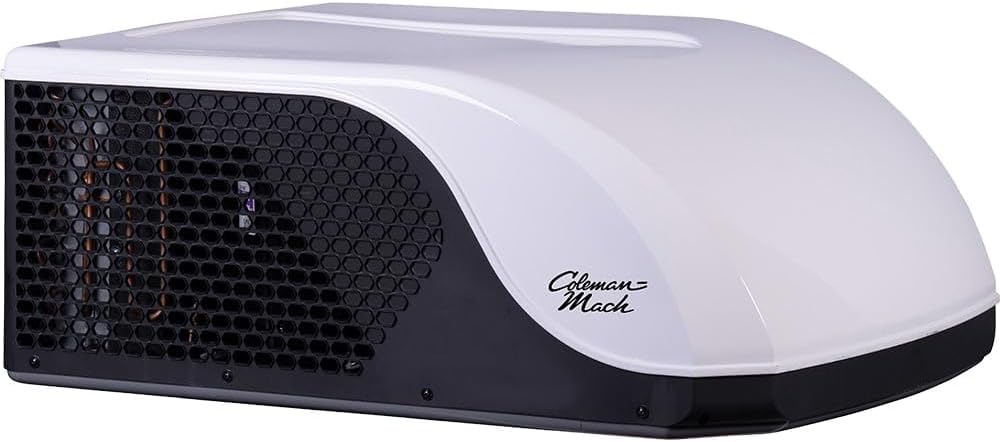
How to Install a Coleman-Mach Everest VS-18 Air Conditioner (2111-00471)
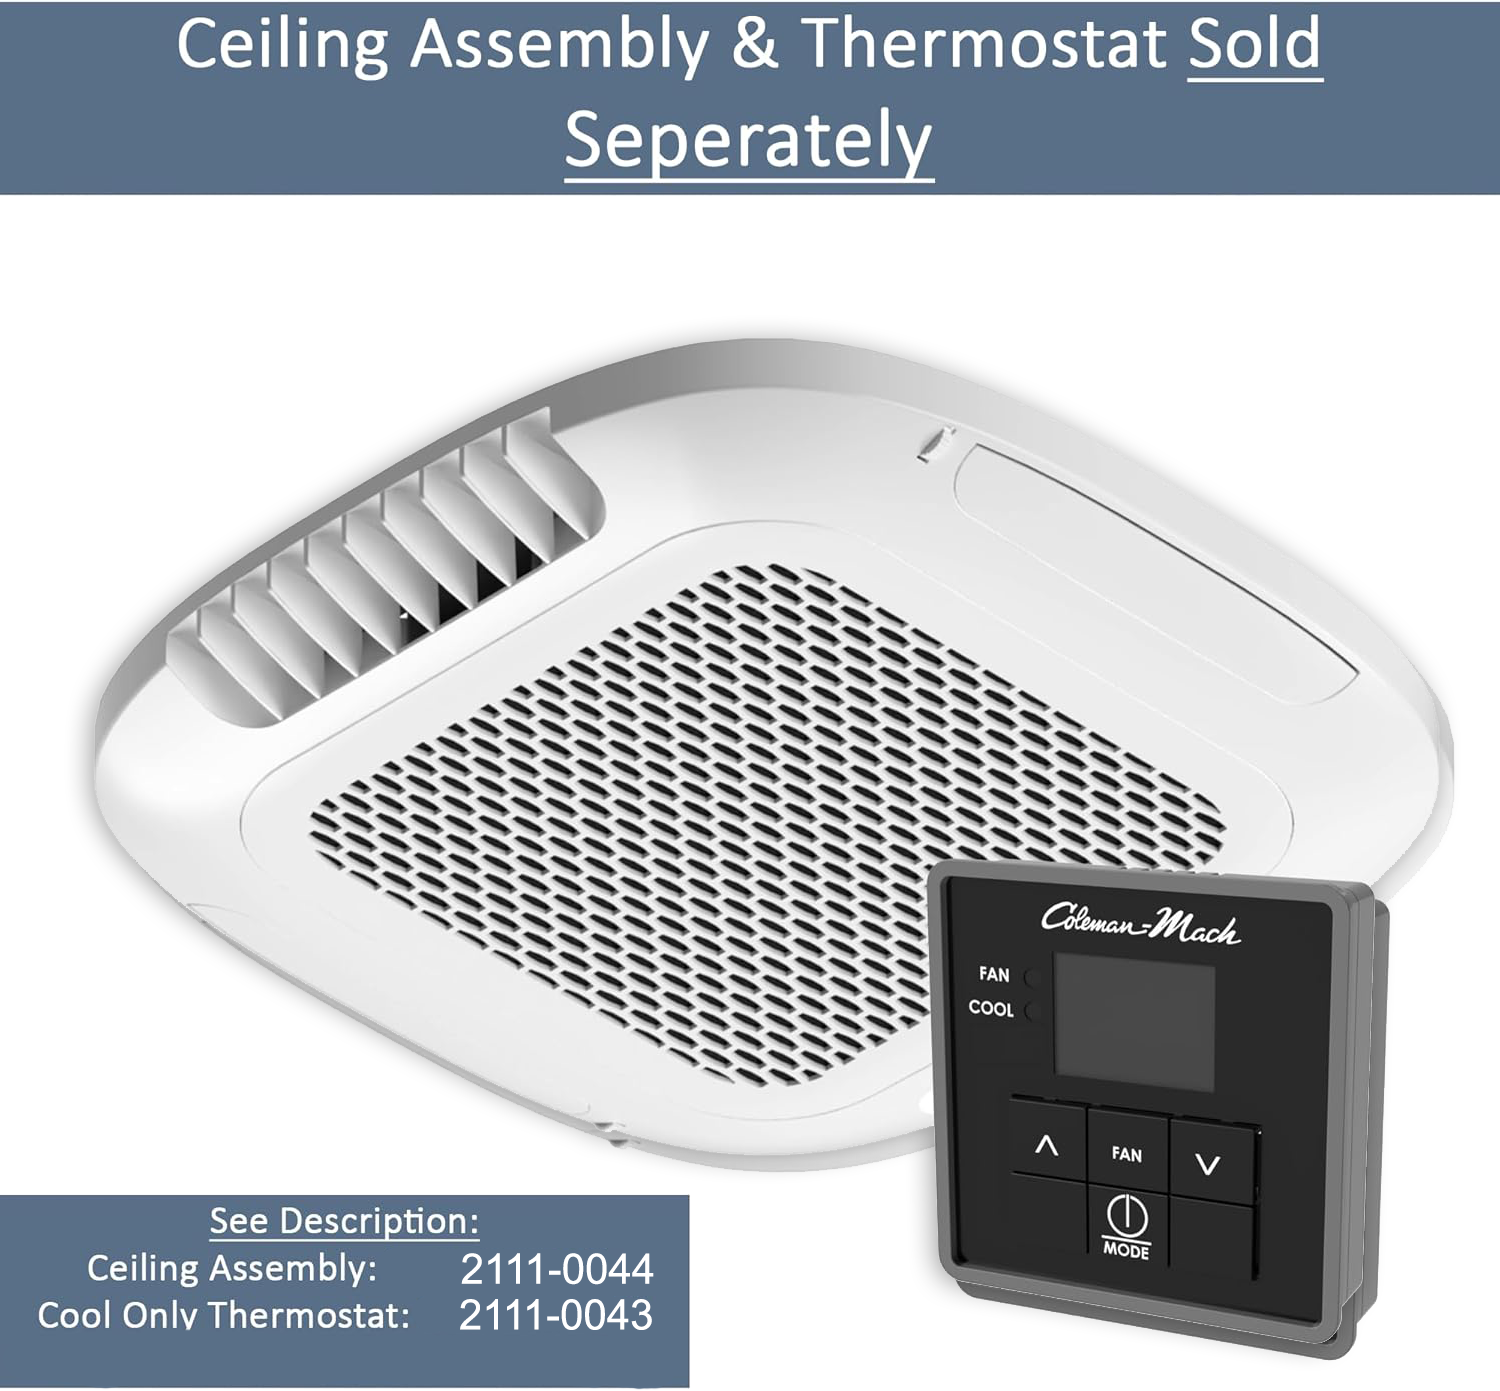
If you're upgrading your RV's cooling system, the Coleman-Mach Everest VS-18 Variable Speed Rooftop Air Conditioner is one of the most efficient and quietest rooftop air conditioners currently available. For a complete non-ducted installation, you'll also need the matching ceiling assembly and thermostat.
This installation was performed as a non-ducted application using a standard 14" x 14" roof opening. The steps below follow the manufacturer's installation procedure with additional real-world tips and photos gathered during the installation process.
This installation was performed as a non-ducted application using a standard 14" x 14" roof opening. The steps below follow the manufacturer's installation procedure with additional real-world tips and photos gathered during the installation process.
Step 1 – Verify the Roof Opening
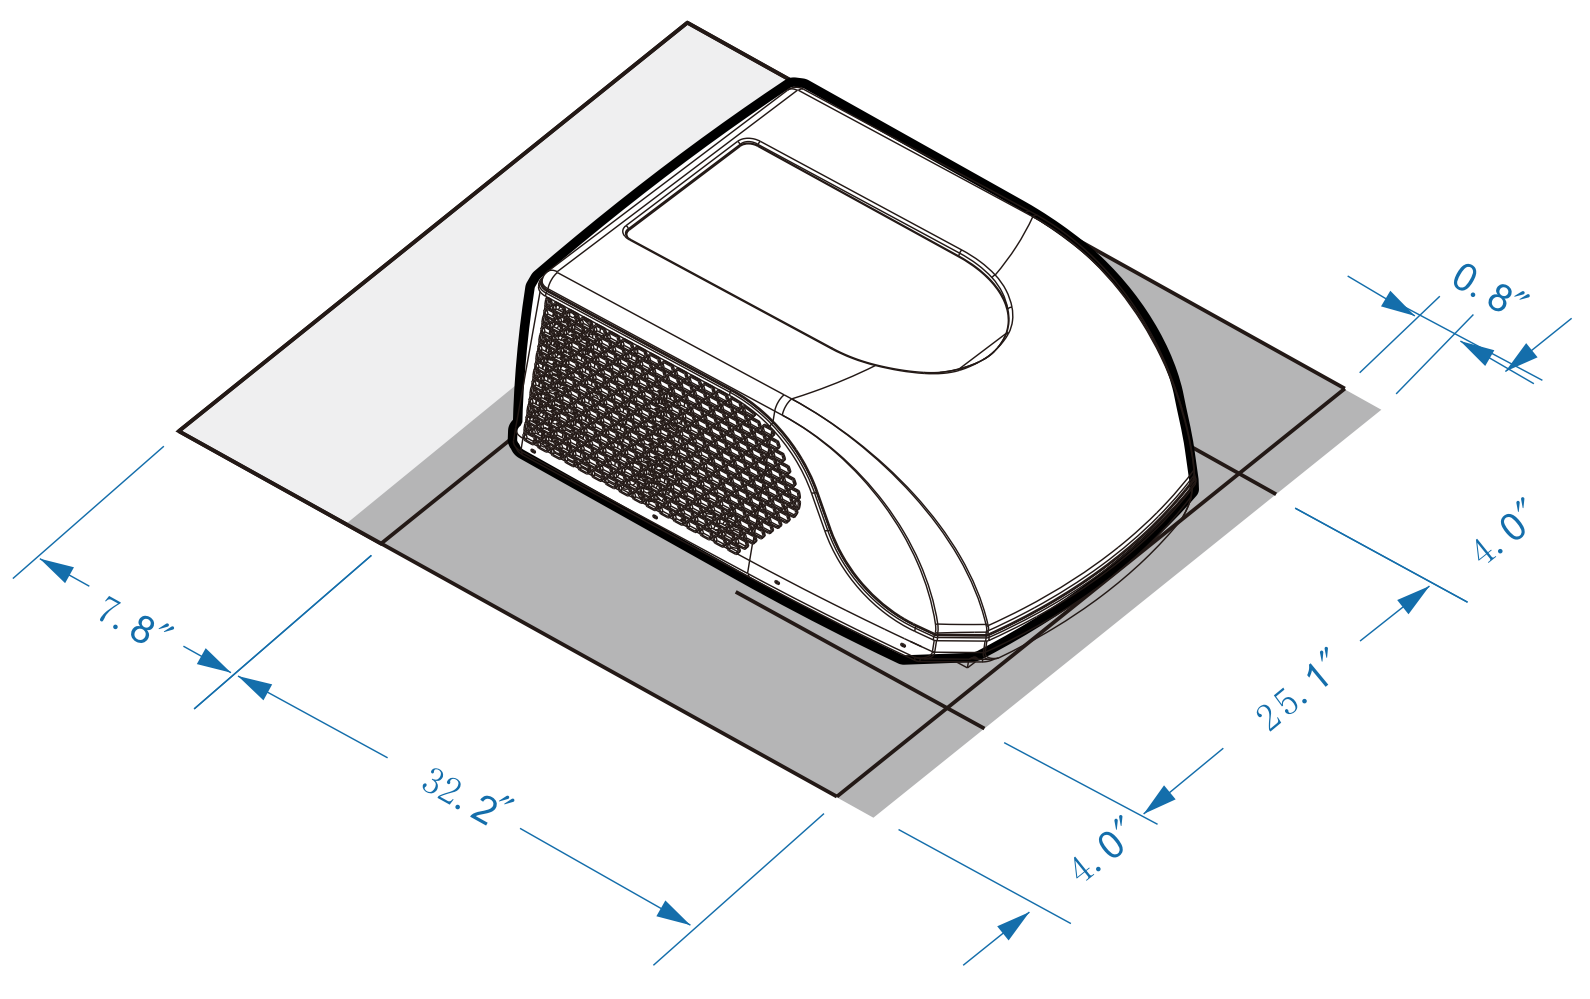
The Everest VS-18 is designed for a standard RV roof opening measuring approximately 14.25" x 14.25". Before beginning installation, verify that:
- Roof opening is within specifications
- Roof structure is capable of supporting the unit
- Wiring has been routed to the opening
- The installation location is free from interior obstructions
- Power sources are turned off before starting installation
The rooftop unit weighs approximately 74-79 pounds, so assistance or lifting equipment is recommended.
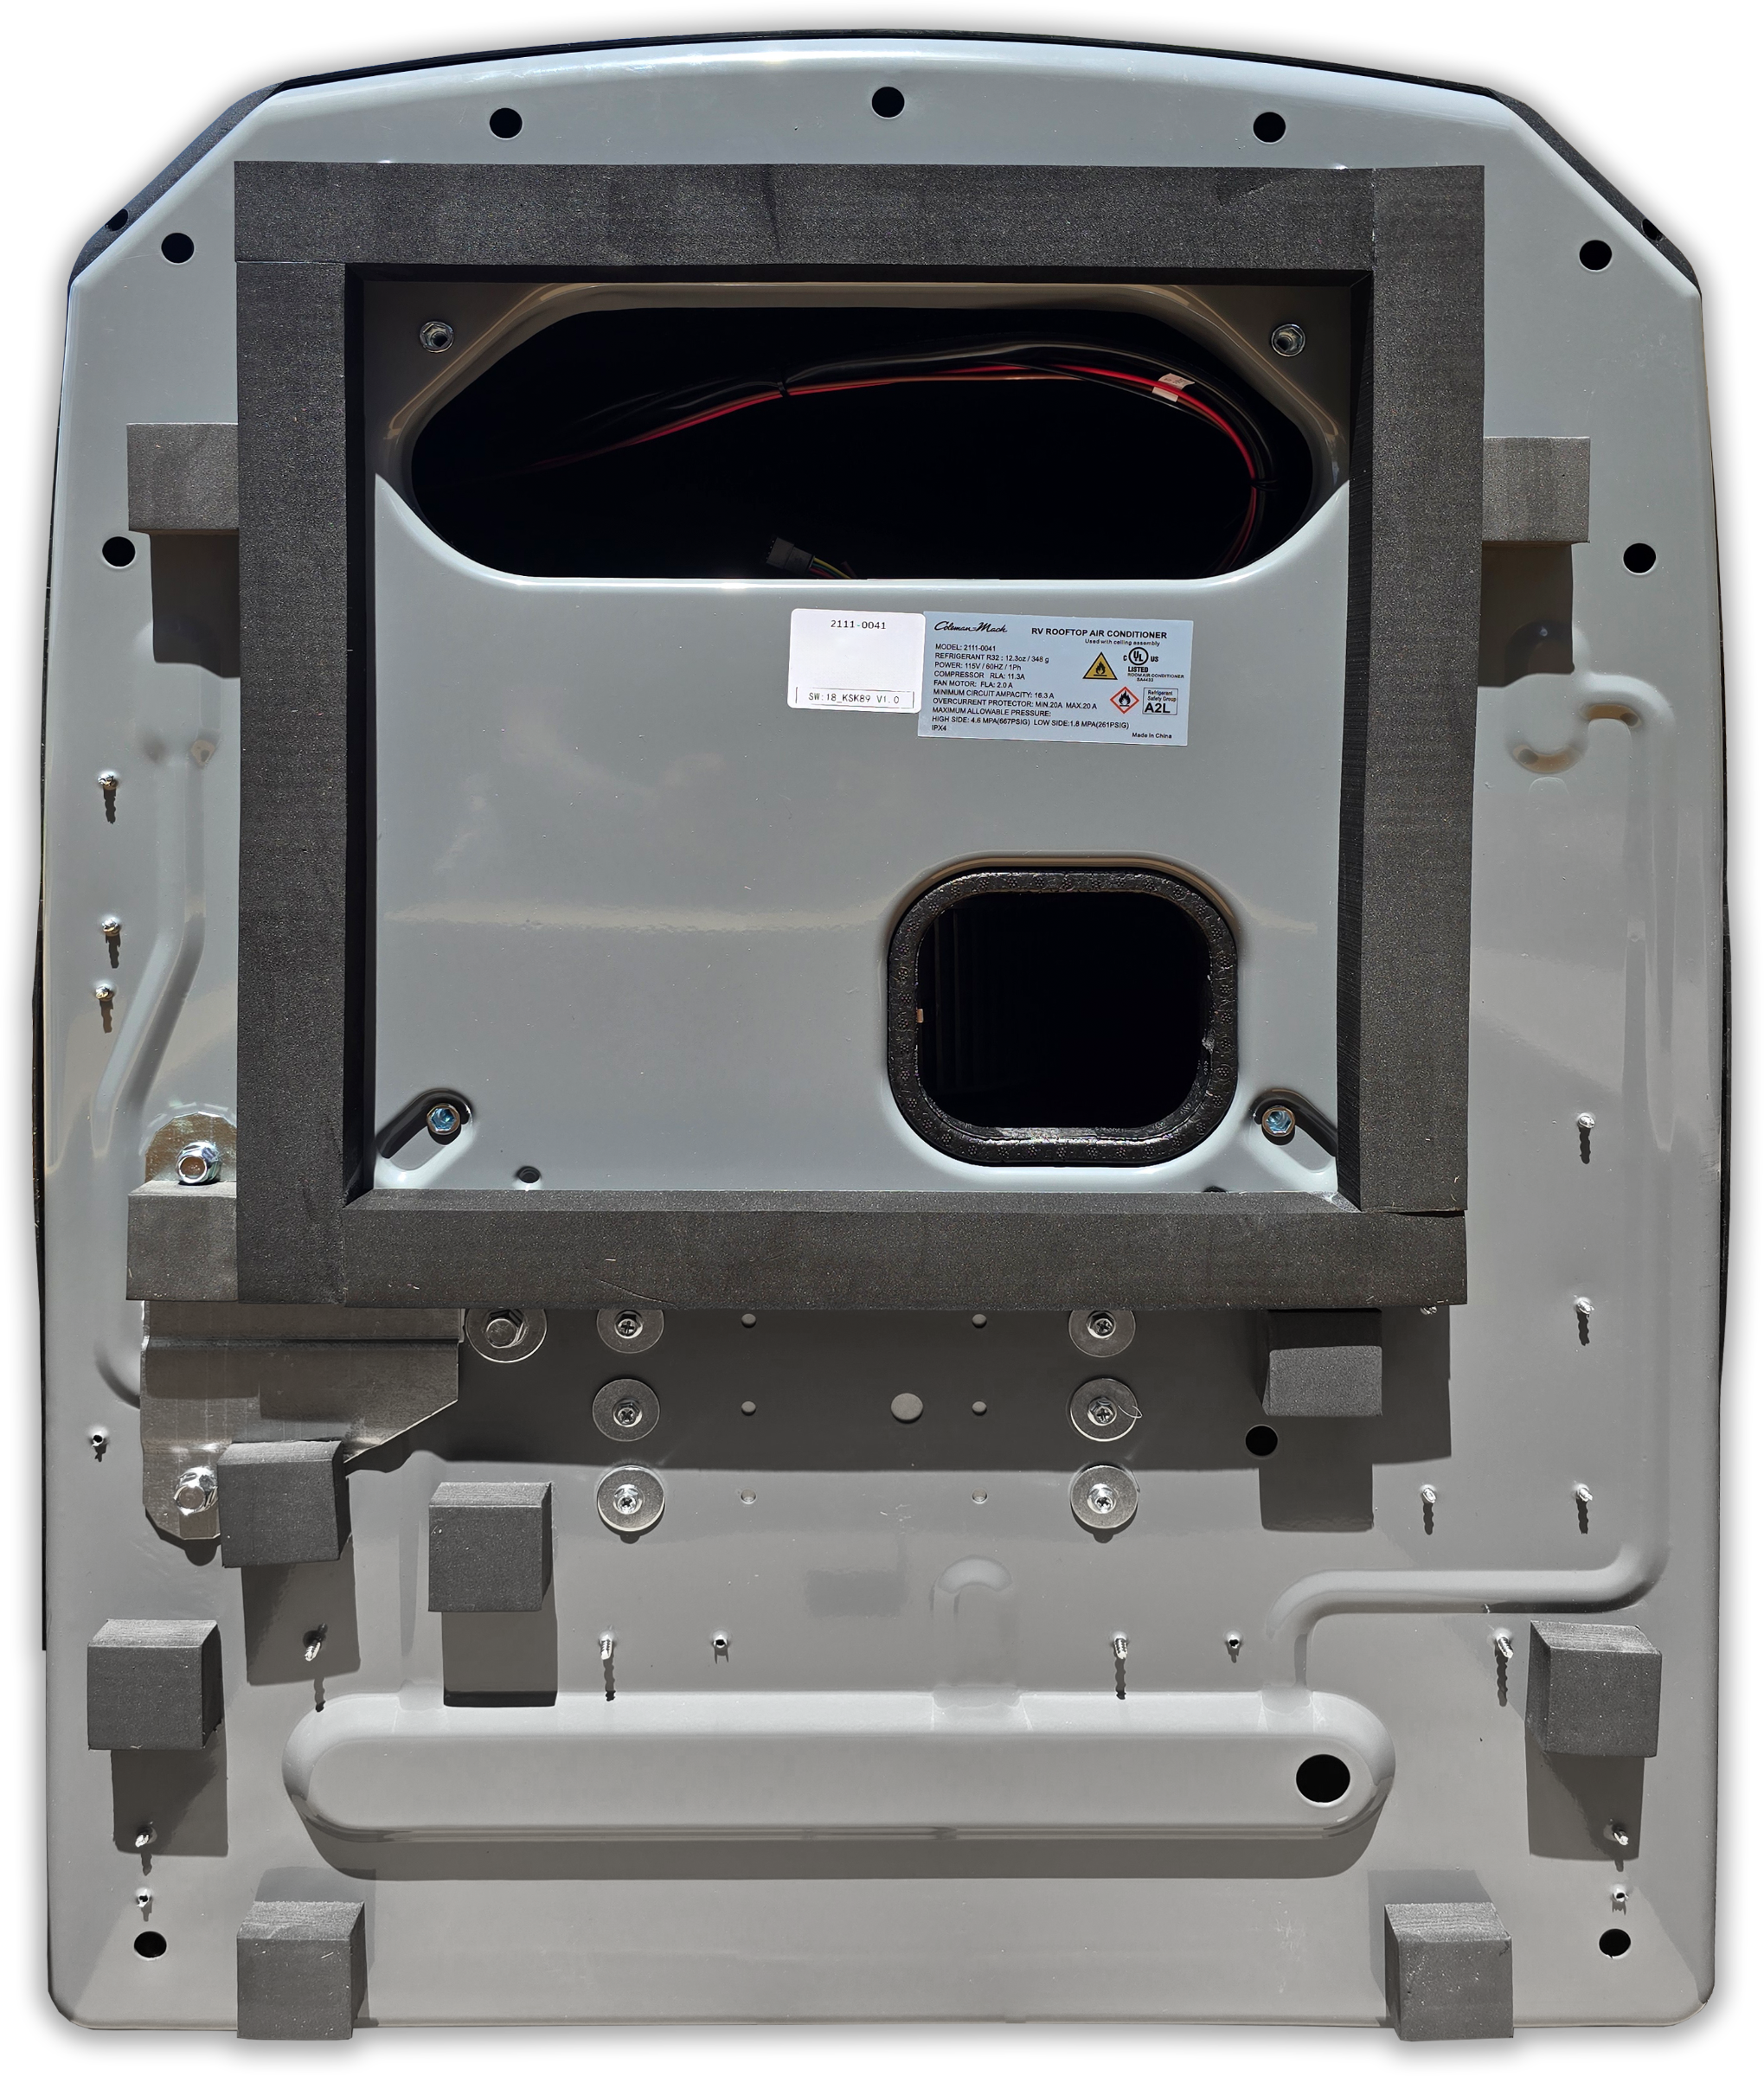
Step 2 – Position the Rooftop Unit
- Place the Everest VS-18 on the roof and carefully lower it over the opening.
- The nose or curved portion of the AC should be facing torward the front of the RV, and the factory gasket should be centered over the roof opening. Avoid sliding the unit across the roof, as this can damage the gasket and lead to leaks.


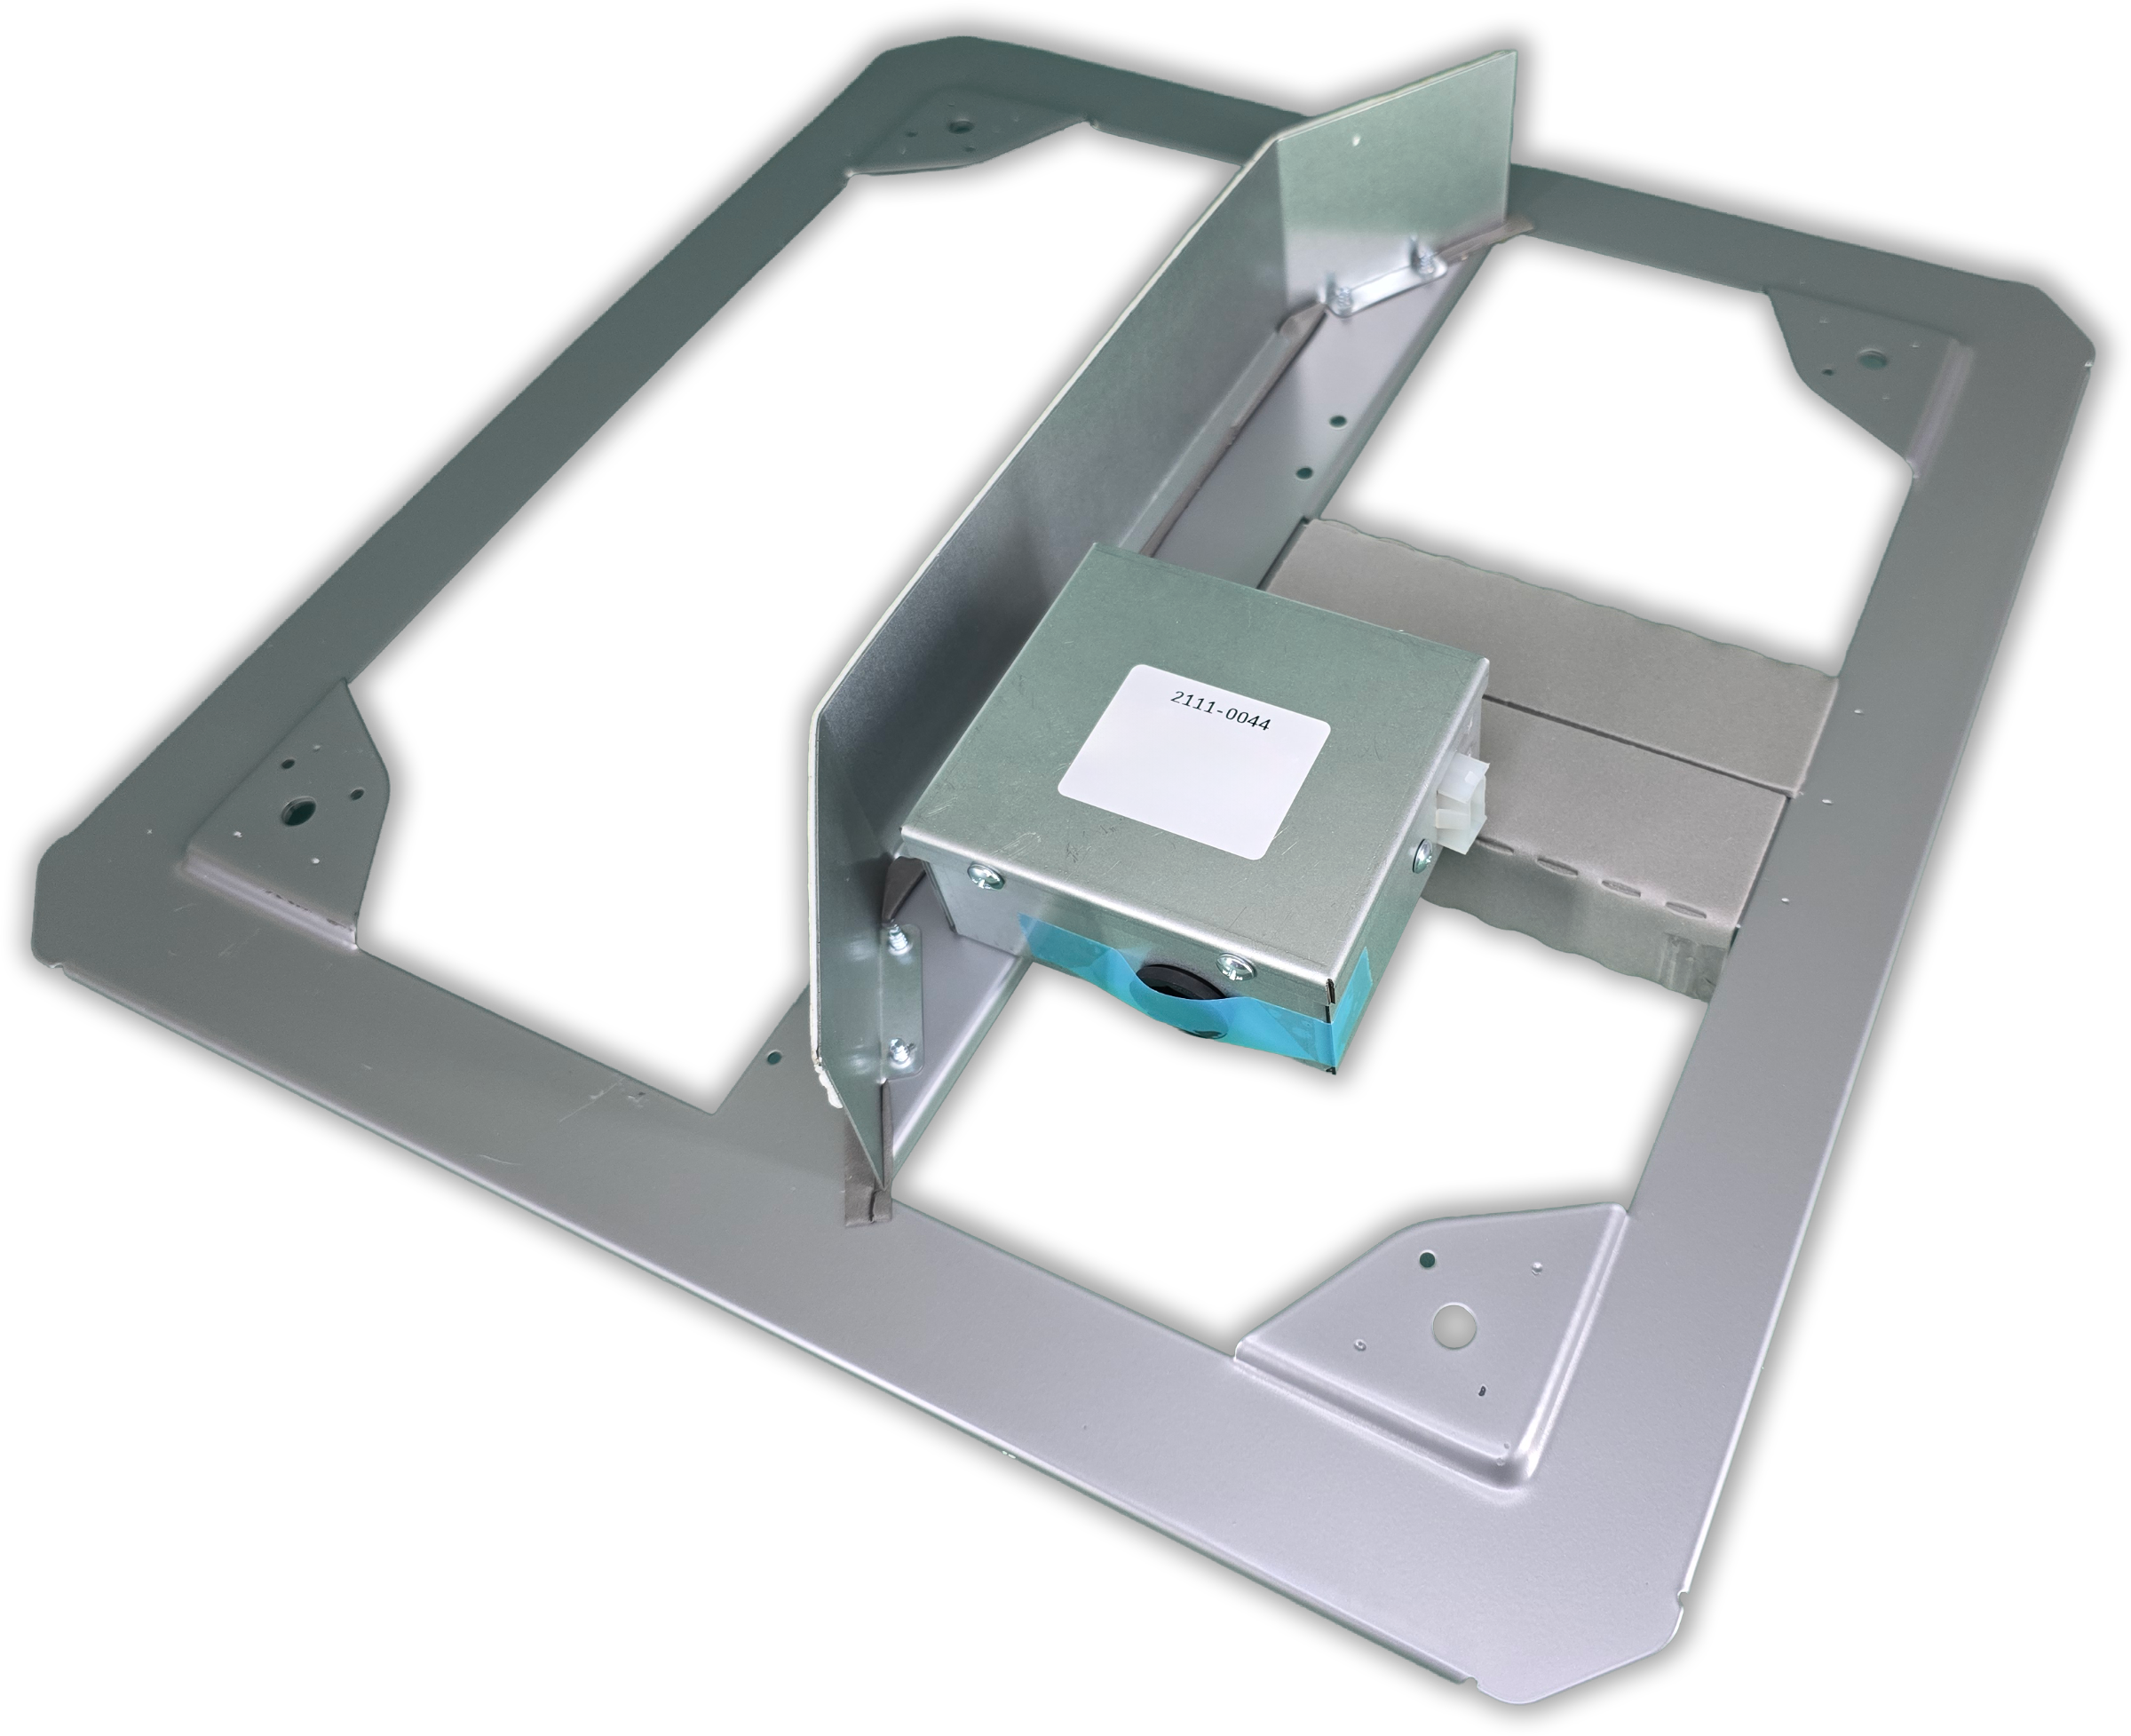
Step 3 – Install the Ceiling Assembly Frame
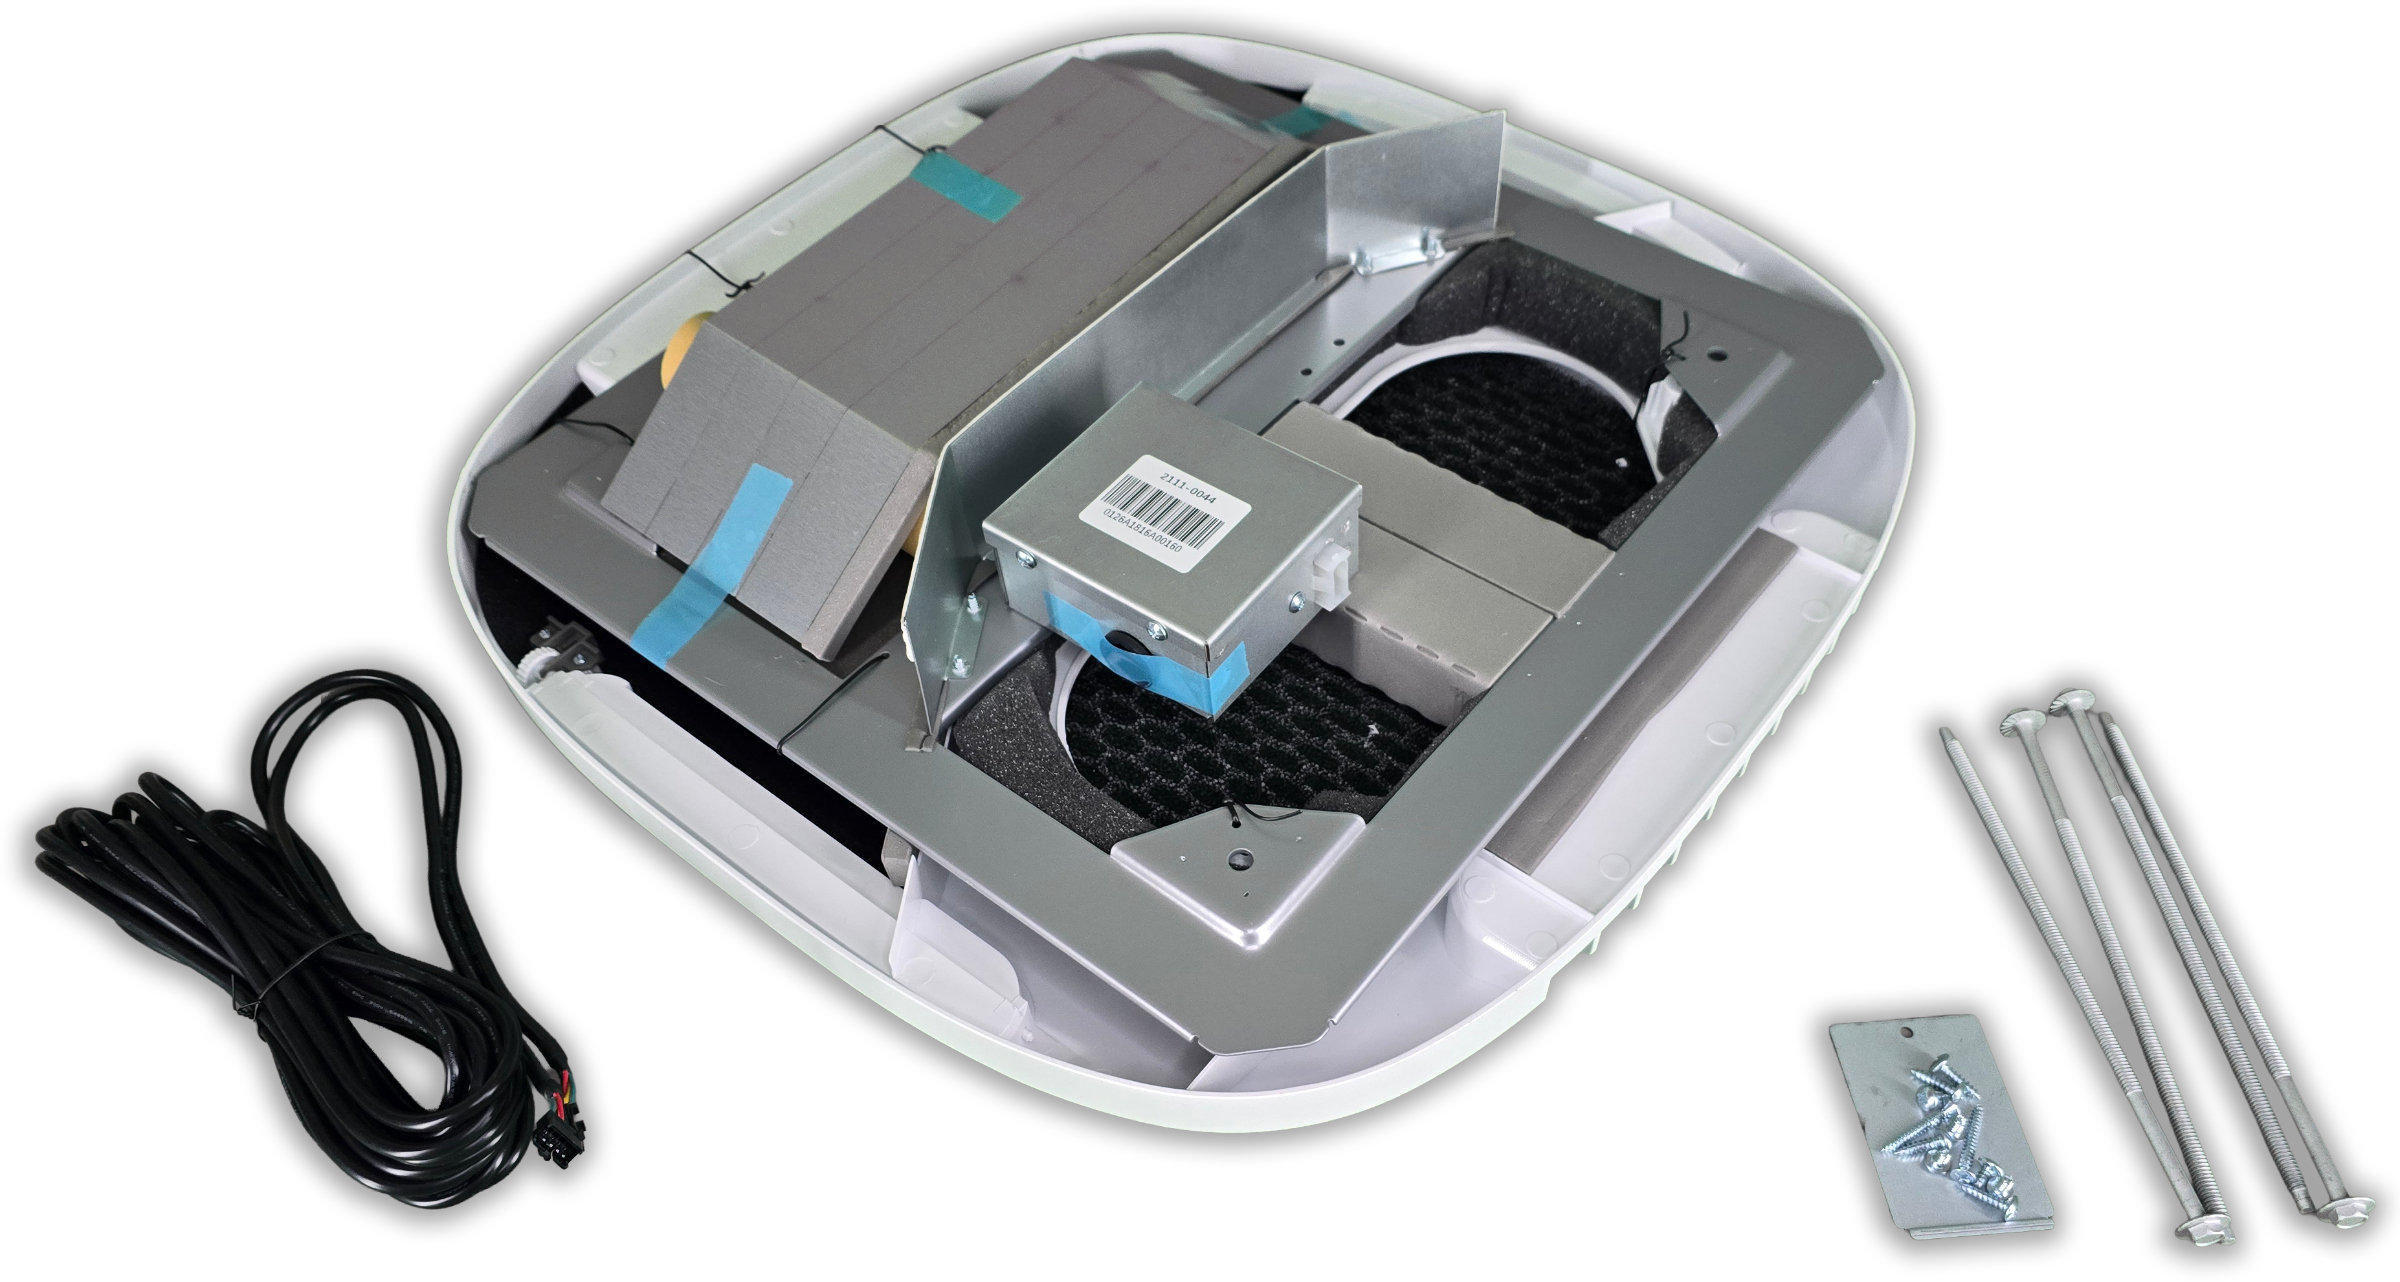
- From inside the RV, unpack the ceiling assembly and verify that the rooftop unit remains properly centered over the opening.
- Install the mounting frame using the four supplied mounting bolts to hold the frame to the AC. Tighten the bolts evenly in a crisscross pattern to compress the rooftop gasket uniformly. Tighten until the gasket between the roof and the AC is compressed to 3/4".
|
Installer Tip
I used a standard 3/8" socket to tighten the four mounting bolts securing the rooftop unit to the ceiling assembly.
|

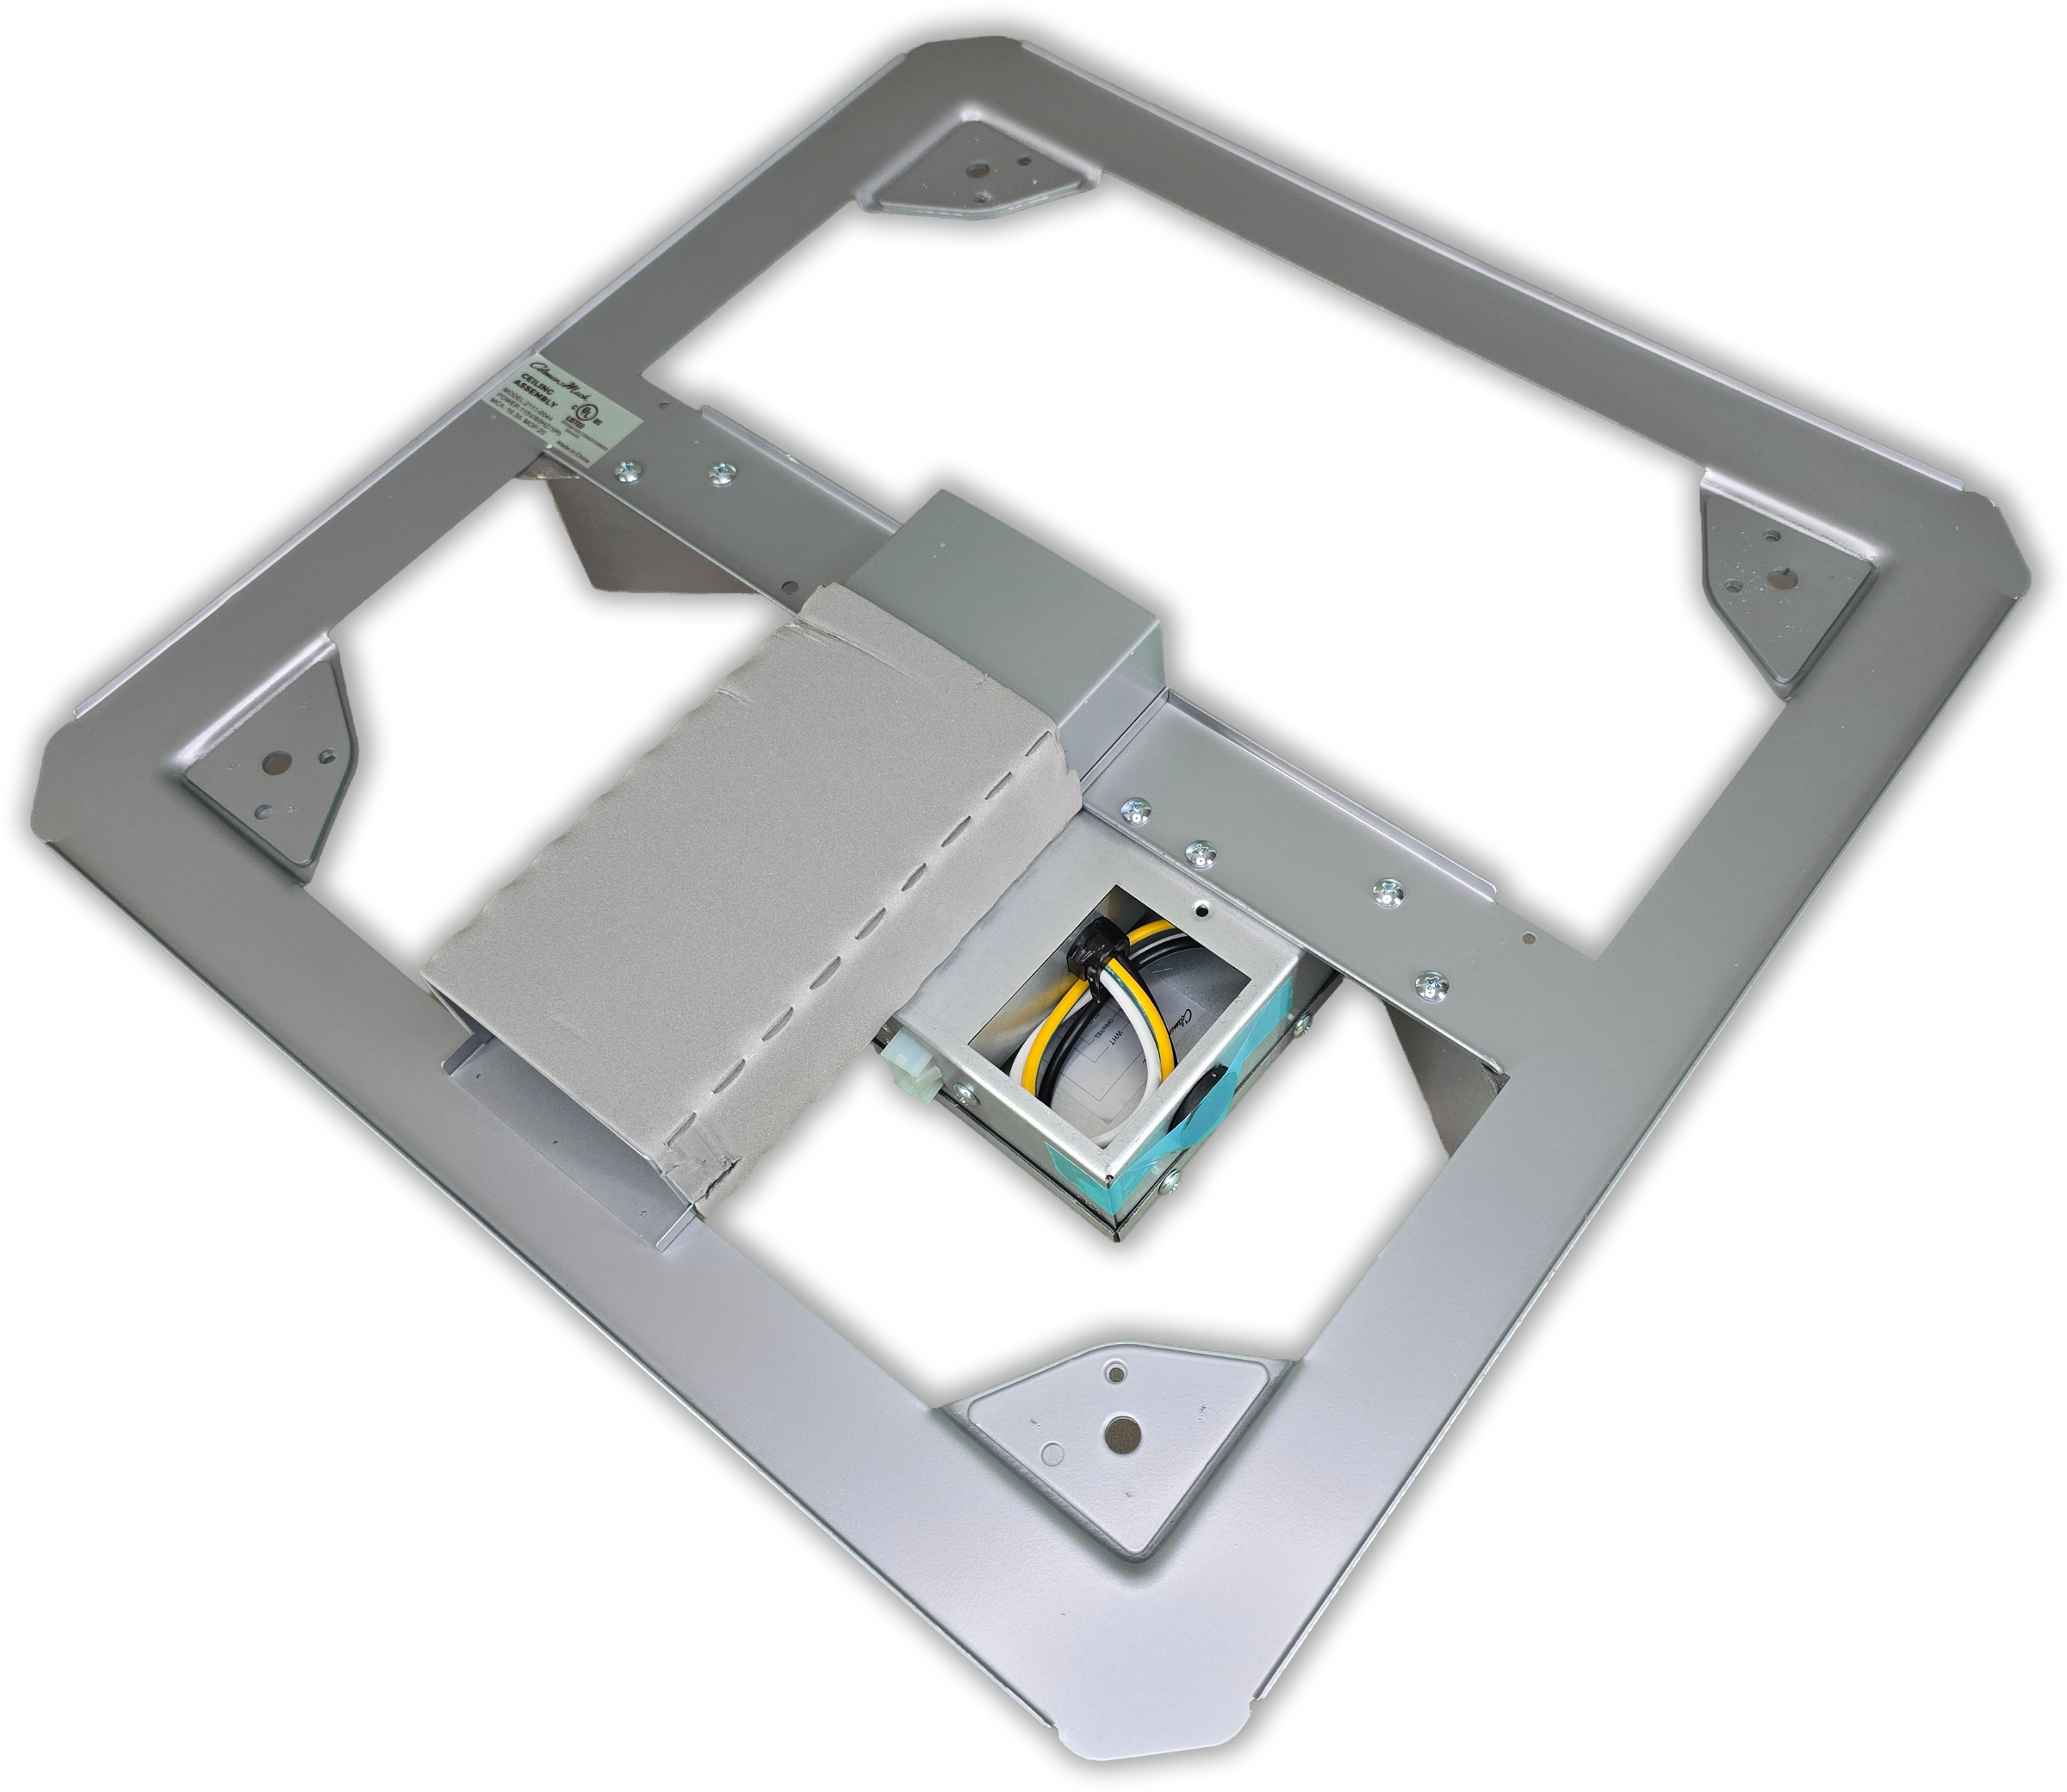
Step 4 – Connect Thermostat and Wiring
The Everest VS-18 uses both 120V AC and 12V DC wiring.
-
ENSURE POWER IS OFF/DISCONNECTED
-
Insert the supply 120VAC wiring through the strain relief in to the Electric Box. Connect the hot (black 120VAC wire) to the black pigtail wire, neutral (white 120VAC wire) to the white pigtail wire, ground (green 120VAC wire) to the green/yellow pigtail wire in the Electric Box.
-
Close the cover.
|
Installer Tip
On my installation there was very little clearance between the power box and surrounding components. For me to install the cover, I had to:
This provided just enough clearance to fit the cover properly.
|
-
Plug the 3 pin plug of rooftop unit into the 3 pin socket of Electric Box.
-
Connect the 12VDC Power wires, 12+ to the Red Power 12V wire and the 12- to the Black Ground wire with wire nut or appropriate equivalent.
-
If applicable, connect the heat source (such as a furnace) to the brown wire.
- In my case, this was not needed.
-
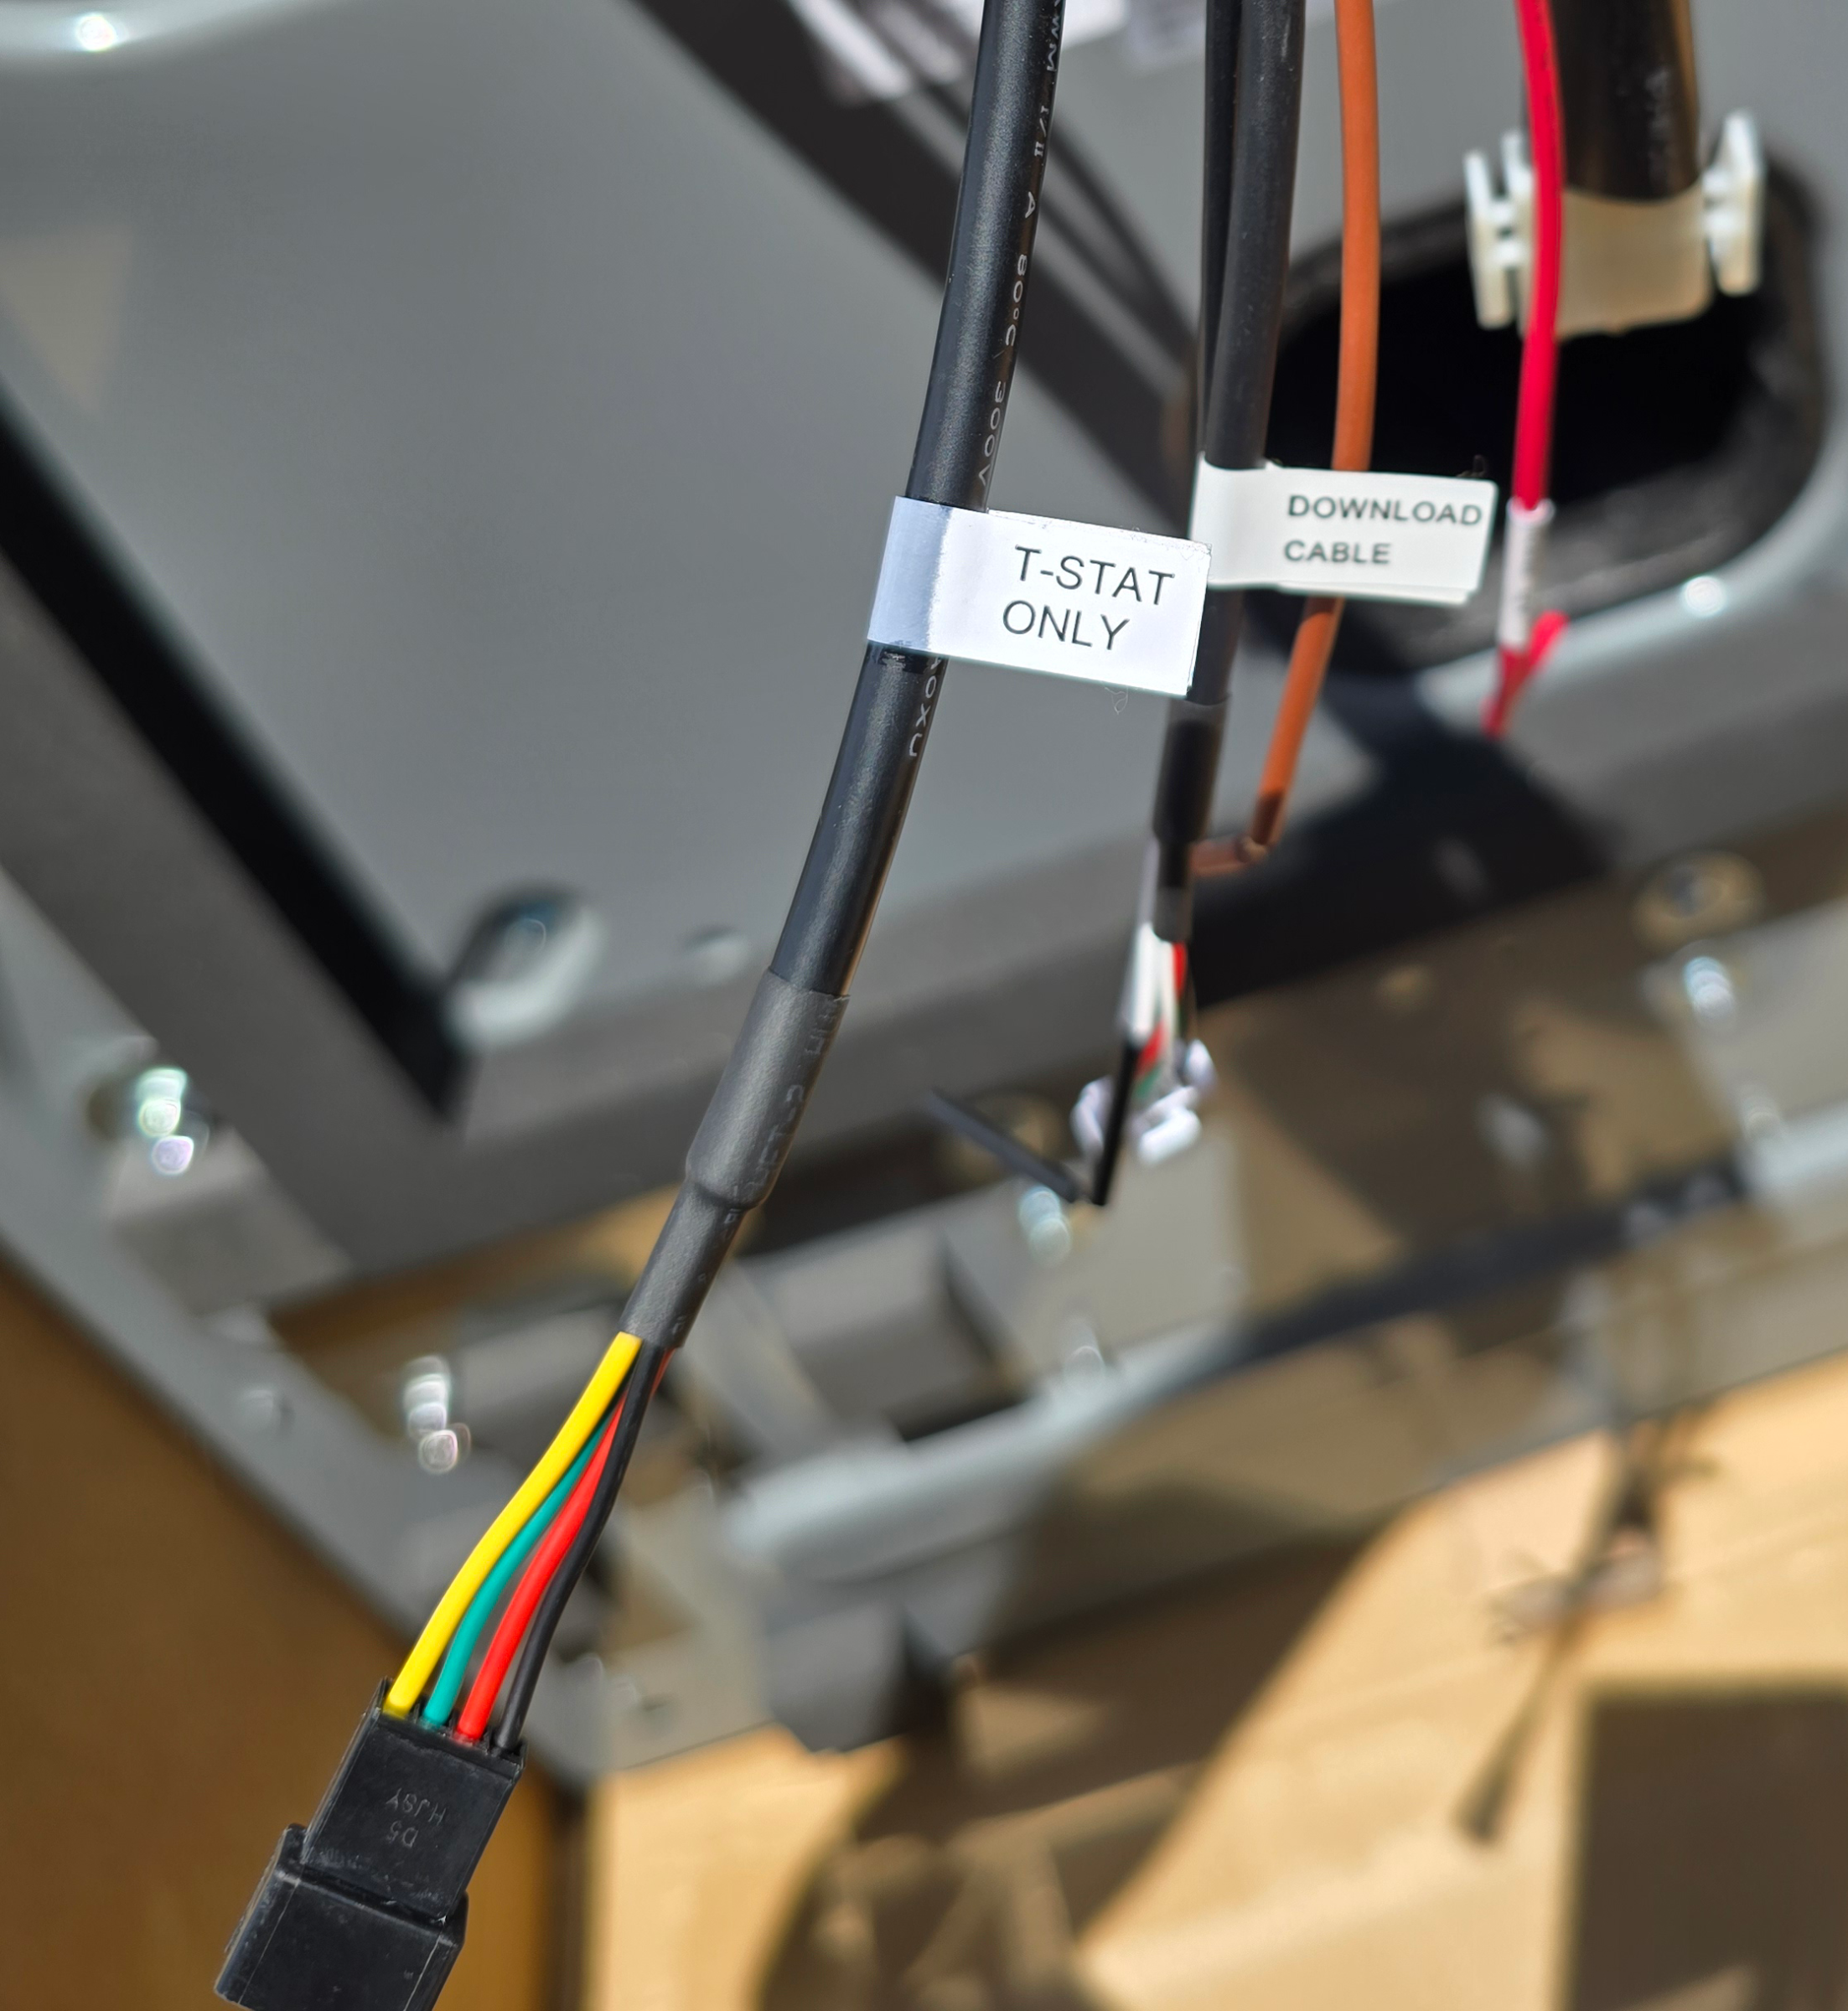
Connect the 4-wire thermostat cable.

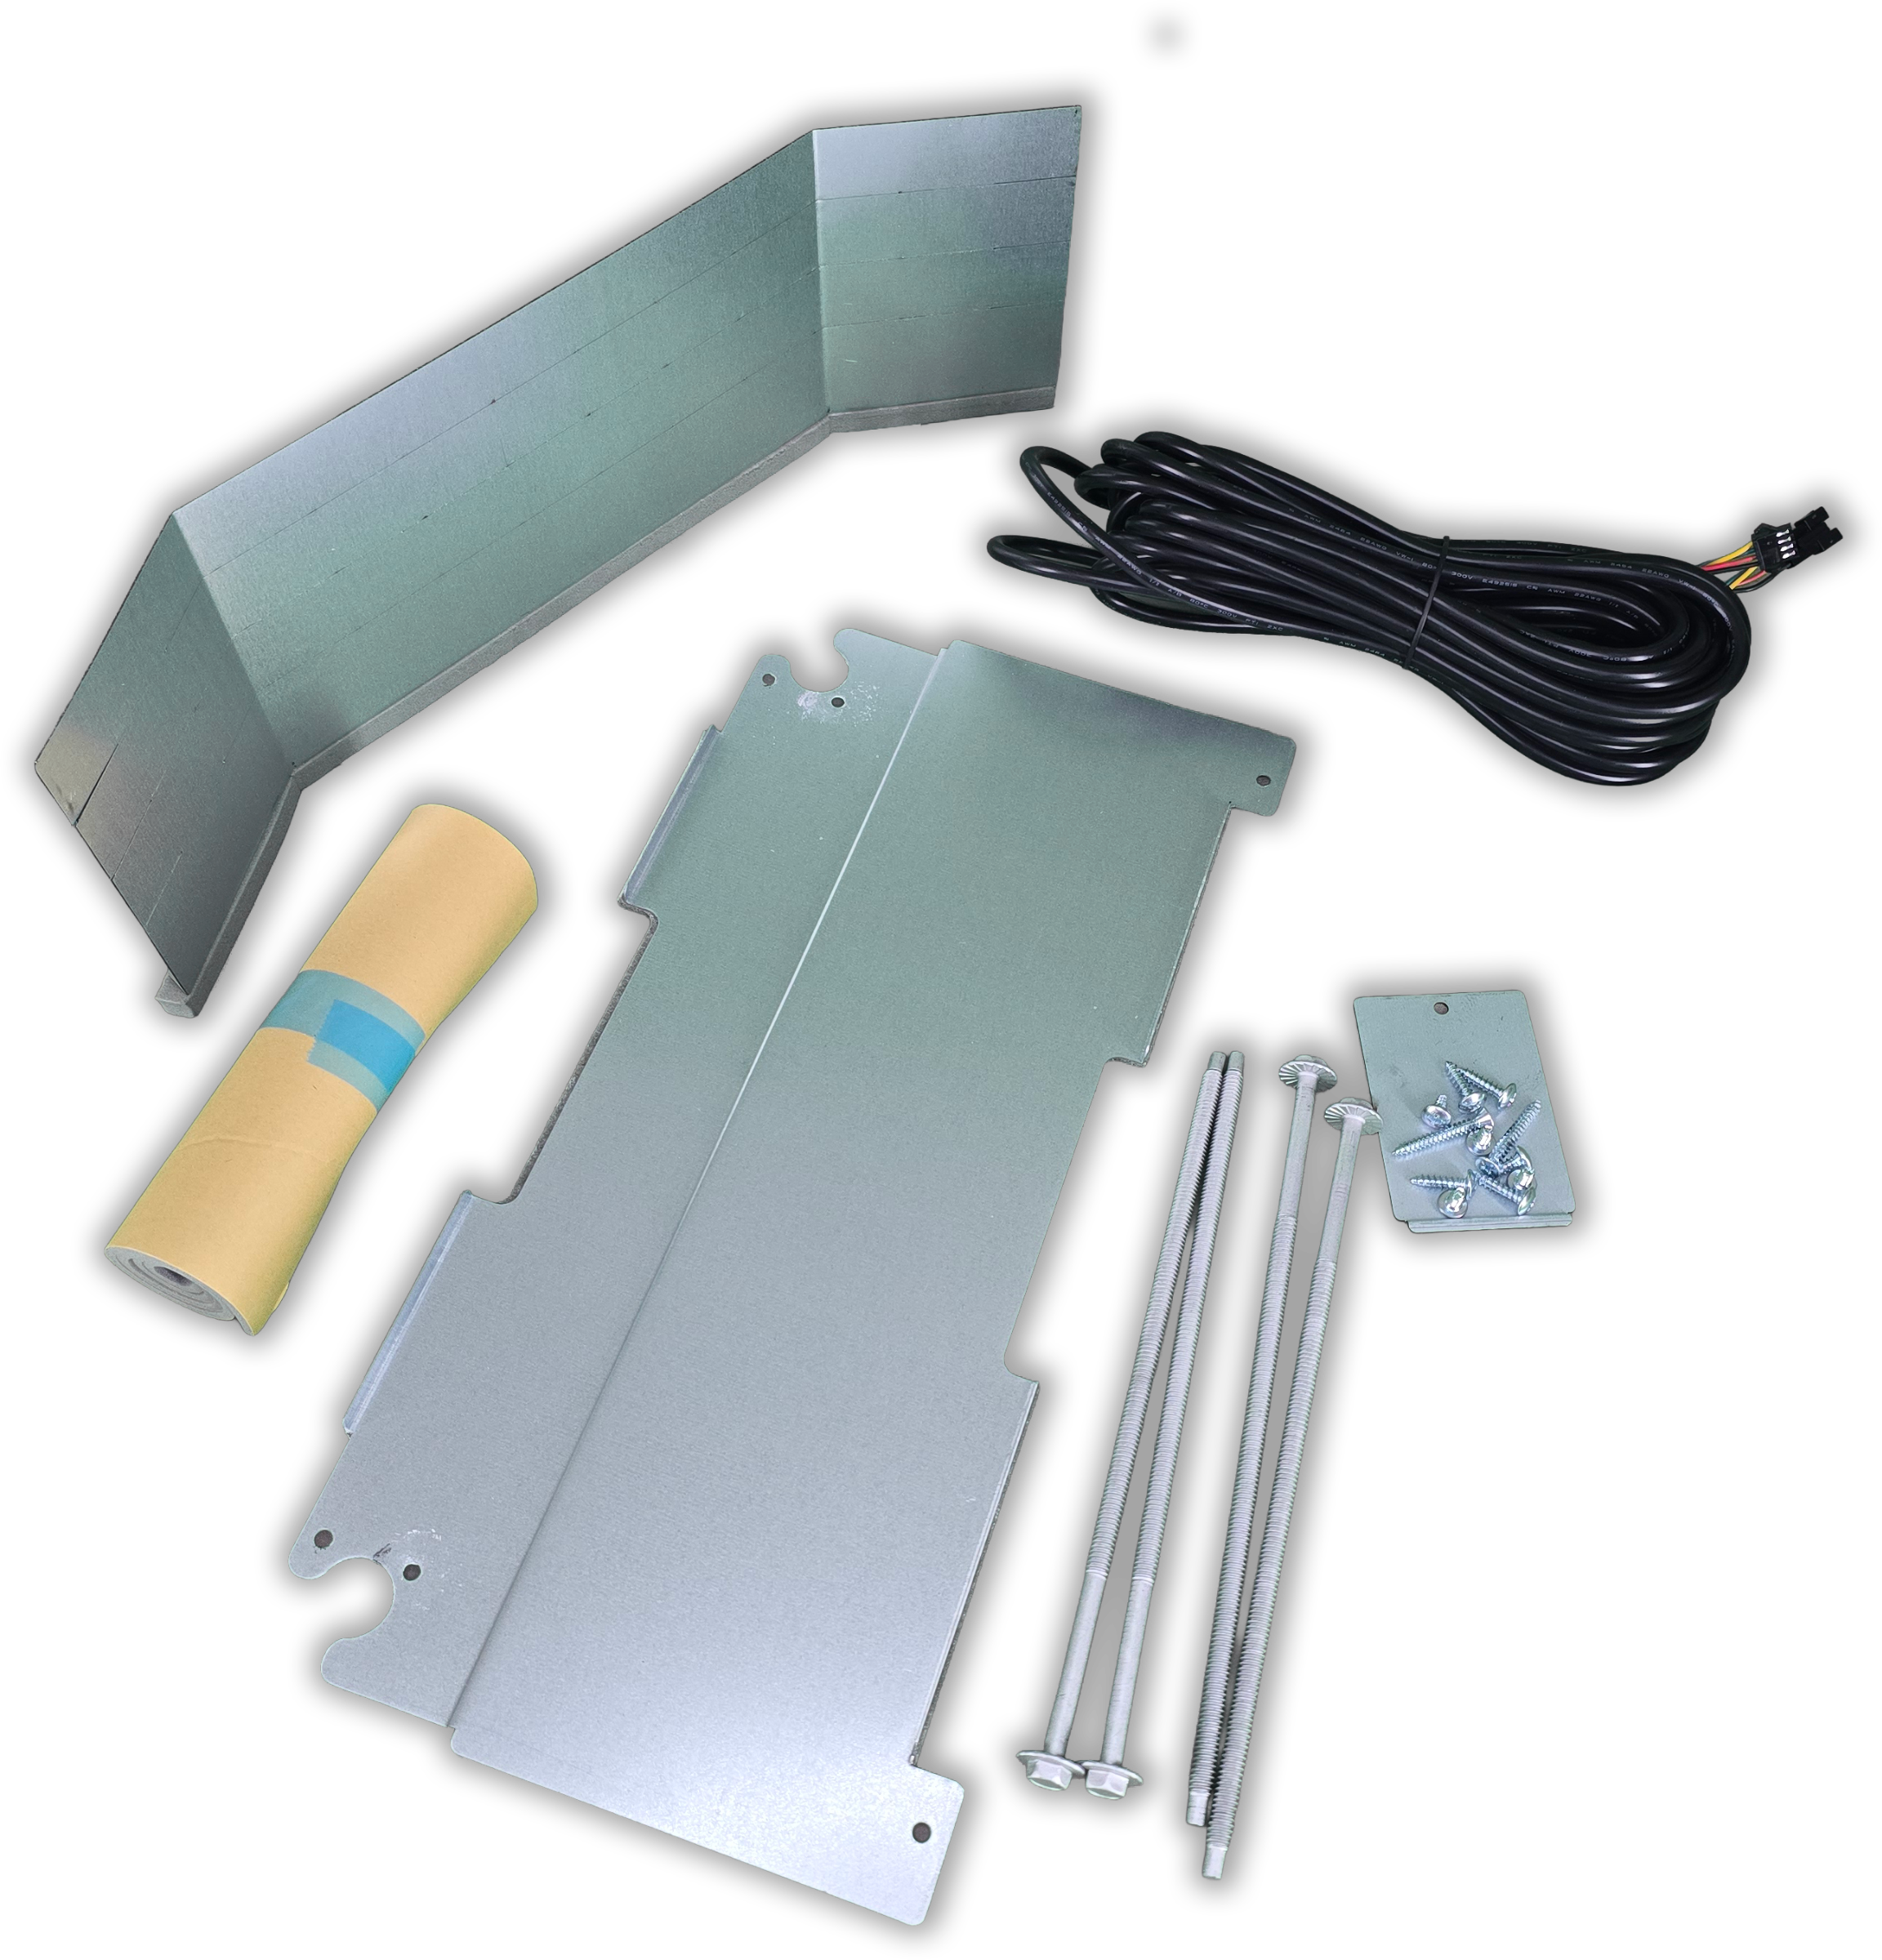
Step 5 – Configure for Non-Ducted Operation
The 2111-0044 ceiling assembly supports both ducted and non-ducted installations.
Since this installation was non-ducted, the supplied duct plate was not installed.
-
Using the attached double-sided tape, install divider into the air distribution box. Ensure the top of the divider is firmly against the basepan of the AC.
-
The height of the divider should be equal to the roof thickness plus the height after gasket compression.
-


Step 6 – Install the Decorative Ceiling Cover
-
Once wiring and air distribution components are installed, attach the decorative ceiling shroud with vents.
The finished assembly provides a clean factory appearance while concealing all wiring and mounting hardware.

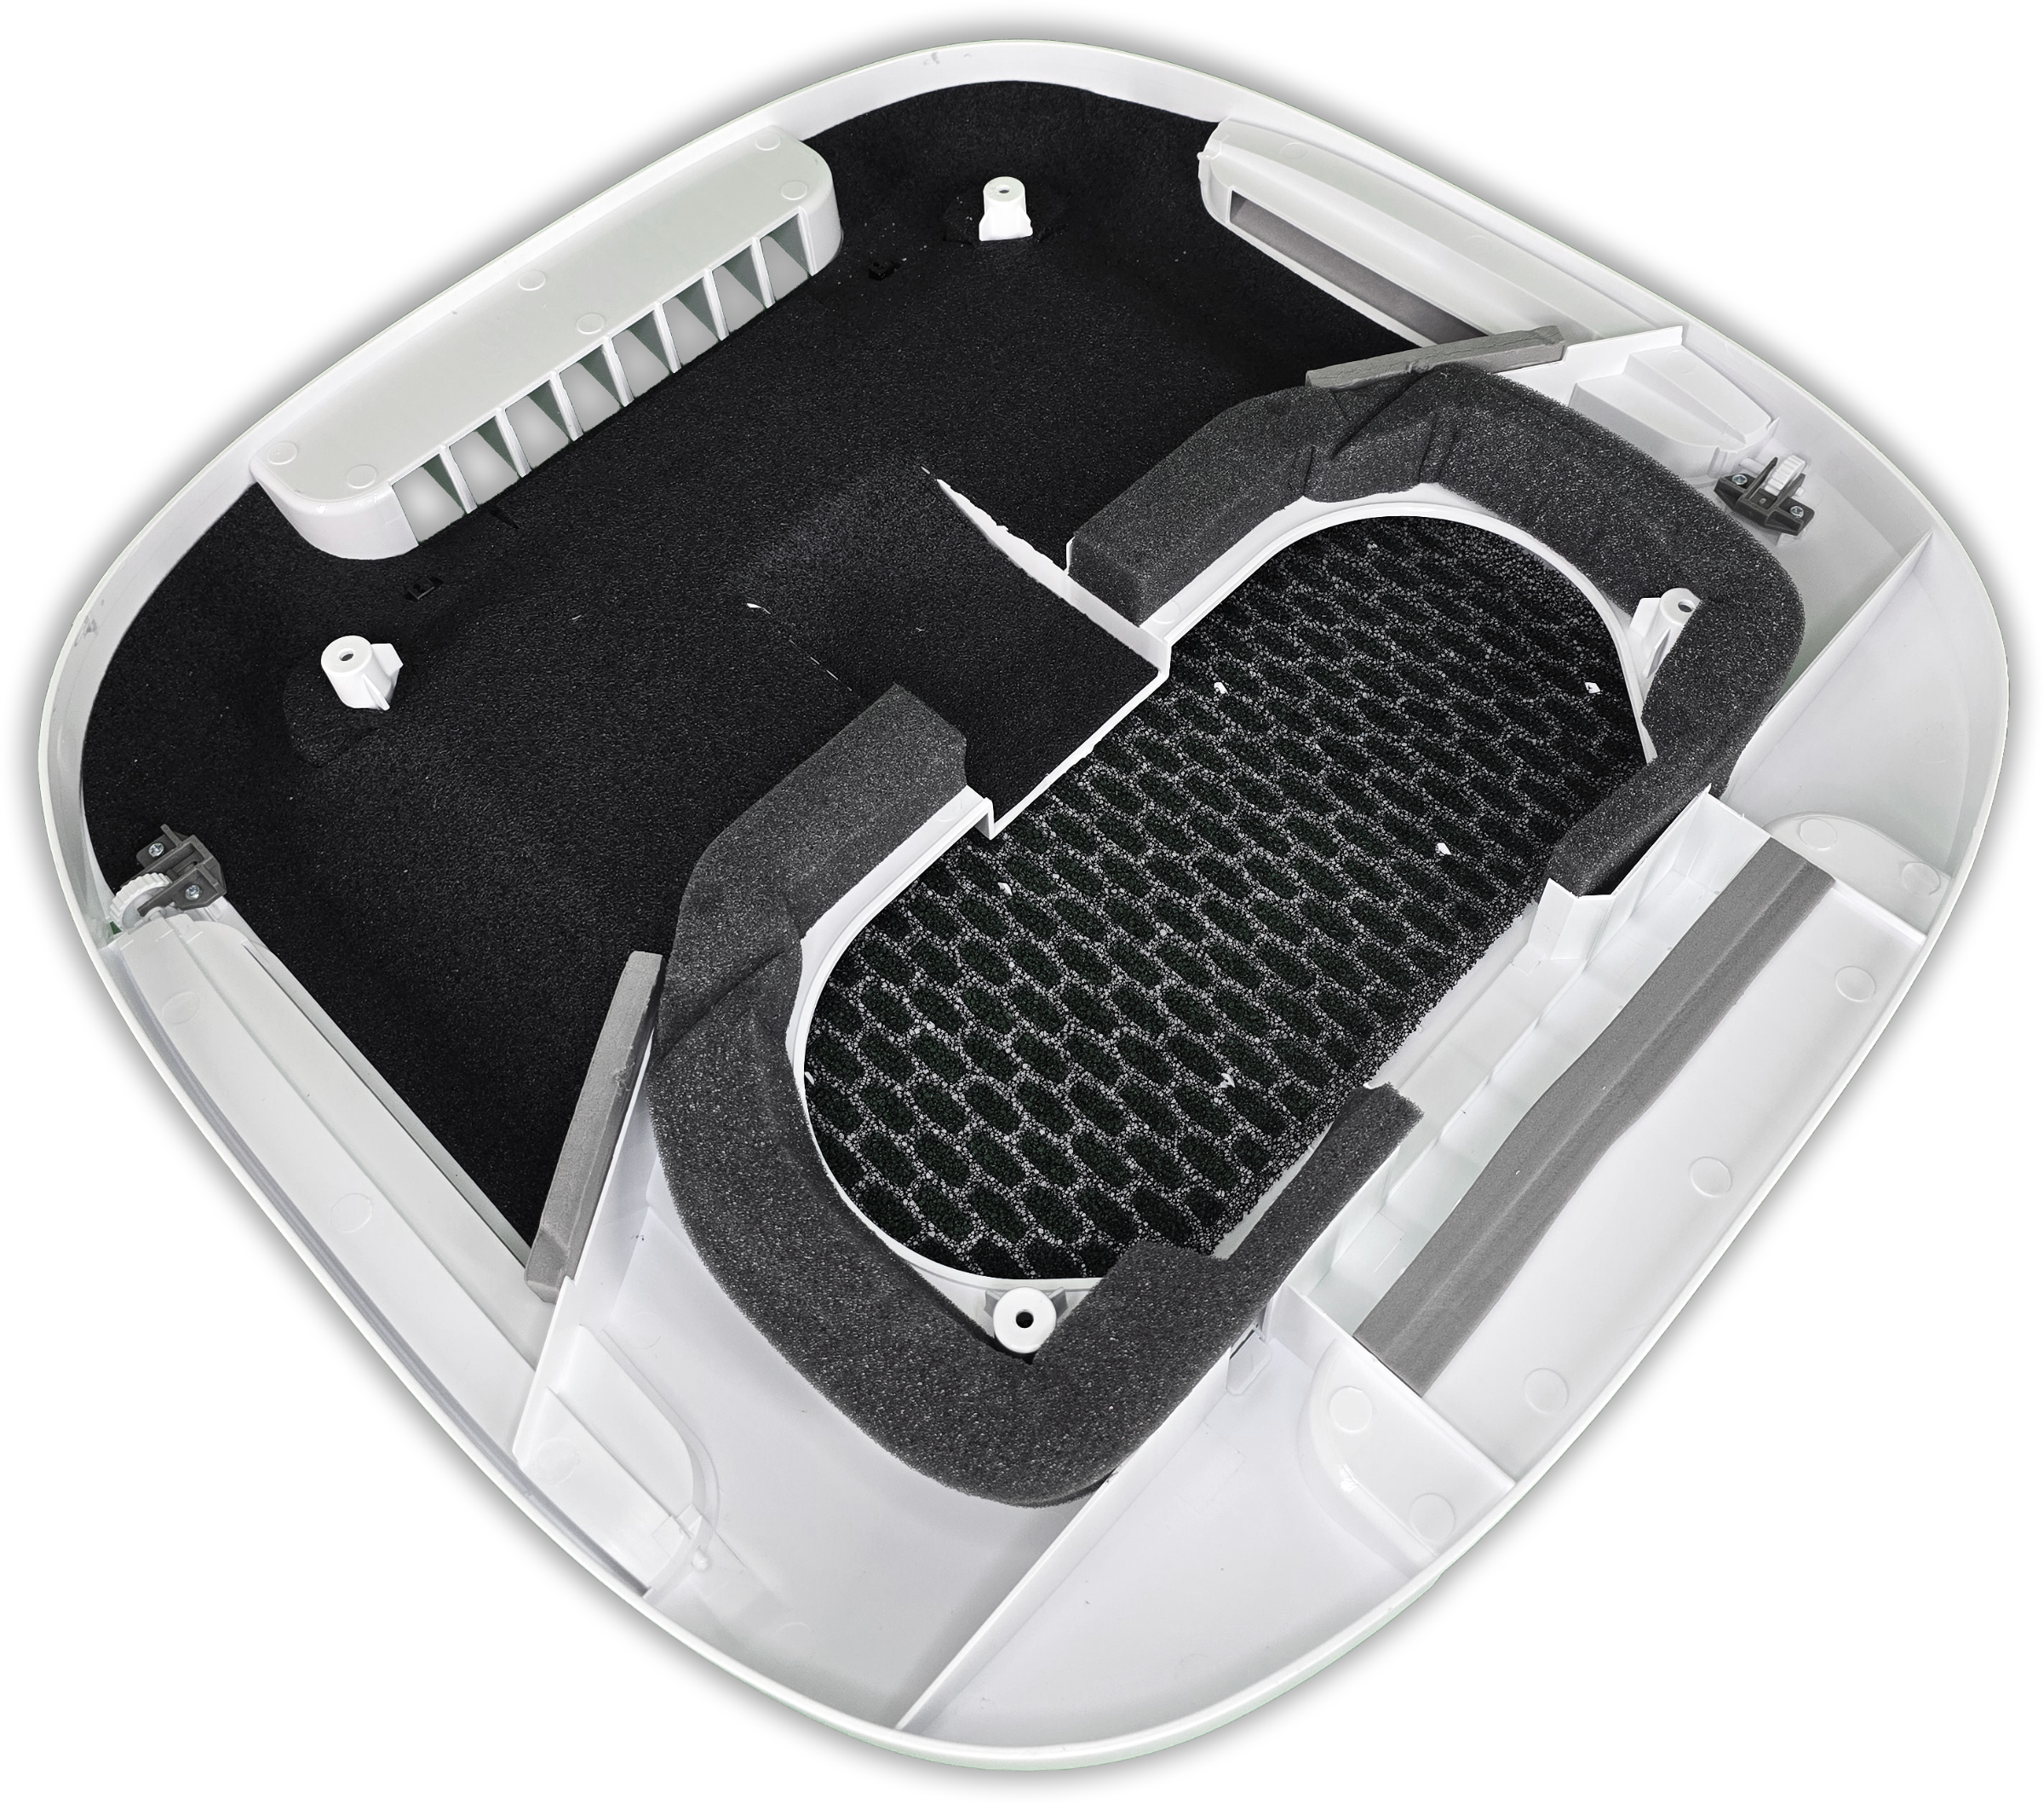
Step 7 – Install the Air Filter
- The final step is installing the washable air filter and filter access cover.
|
Installer Tip
To remove the filter cover:
Press the two push-button releases located opposite the Coleman-Mach logo.
The side with the Coleman-Mach logo acts like a hinge using two molded retaining tabs.
This design makes routine filter maintenance quick and tool-free. |

Installation is now finished!
After installation is complete:
-
Restore 120V AC power.
-
Restore 12V DC power.
-
Pair and configure the 2111-0043 thermostat.
-
Verify cooling operation.
-
Verify fan speed operation.
-
Confirm proper airflow from the ceiling assembly.

Frequently Asked Questions
Does the Coleman-Mach Everest VS-18 require a thermostat?
Yes. The Everest VS-18 requires the compatible 12V thermostat:
Yes. The Everest VS-18 requires the compatible 12V thermostat:
Can the 2111-0044 ceiling assembly be used for ducted and non-ducted installations?
Yes. The 2111-0044 ceiling assembly supports both installation types. The configuration differs depending on whether the RV uses ductwork.
Yes. The 2111-0044 ceiling assembly supports both installation types. The configuration differs depending on whether the RV uses ductwork.
What size roof opening is required?
A standard RV roof opening of approximately 14.25" x 14.25" is required.
A standard RV roof opening of approximately 14.25" x 14.25" is required.
Is the Everest VS-18 quieter than a traditional RV air conditioner?
Yes. The variable-speed inverter compressor allows the unit to operate at lower speeds when full cooling capacity is not required, reducing noise and improving efficiency.
Yes. The variable-speed inverter compressor allows the unit to operate at lower speeds when full cooling capacity is not required, reducing noise and improving efficiency.